Ever seen those photos of people balancing on one leg and wondered what’s going on? You’re not alone. This article will show you the ins and outs of flamingo reflexology with clear visual guides.
I’ll explain how this technique combines balance with specific pressure points on your feet. It’s a unique way to target certain benefits.
By the end, you’ll know exactly what to look for in those photos. Trust me, it’s simpler than it looks.
What is Flamingo Reflexology? A Visual Definition
Flamingo Reflexology is a self-administered technique where you stand on one leg and use the other foot to apply pressure. The name comes from the flamingo’s iconic one-legged stance.
The primary goal is to stimulate reflex points on the sole of the foot using your body weight for controlled pressure. This can help target specific organ-related reflex points.
PHOTO 1: The Basic Flamingo Pose. The image shows a clear, well-lit full-body posture. You can see the one-legged stance and the active foot placed against the standing leg’s calf or ankle.
Practitioners claim several core benefits, and improved balance is a big one. It also helps with stimulated circulation.
And of course, it targets those specific reflex points related to organs.
Give it a try and see how it works for you.
How to Perform the Flamingo Pose: A Step-by-Step Photo Guide
Have you ever wondered how to get the most out of your reflexology practice? The Flamingo Pose is a great way to start. Let’s dive in.
Step 1: The Setup.
First things first, find a stable surface. You can use a wall or a chair for initial support. This is crucial for balance and safety.
Grounding the standing foot is key. Make sure it’s firmly planted on the floor.
Step 2: Lifting and Placement.
Now, lift one leg. Place the sole of that foot against the inner calf or ankle of the standing leg. Avoid the knee joint.
This placement is important for both comfort and effectiveness.
Step 3: Applying Pressure.
Gently press and roll different parts of the active foot’s sole against the standing leg. Use the arch, ball, and heel to stimulate reflex zones. This step helps to activate the pressure points and enhance the benefits of the pose.
Step 4: Holding the Pose.
How long should you hold the pose? Start with 15-30 seconds and gradually increase as you get more comfortable. Deep breathing is your friend here.
It helps with stability and relaxation.
Step 5: Switching Sides.
Don’t forget to repeat the entire process on the opposite leg. Balance is key in reflexology. This ensures you get the full benefits and maintain symmetry in your practice. flamingo reflexology photos
Sound familiar? Many people overlook the importance of switching sides, but it’s essential for a balanced session.

By following these steps, you’ll be able to perform the Flamingo Pose effectively and safely. Remember, consistency is key.
Key Pressure Points Targeted in This Technique

Let’s dive into the reflexology foot chart, shall we? (Photo 5: Reflexology Foot Map) It’s a handy visual guide to help you understand where to apply pressure.
Pressing the ball of the foot can stimulate points related to the heart, lungs, and shoulders. Surprisingly, many people overlook this area, thinking it’s just for general relaxation. But it’s more than that.
It can actually help with respiratory and cardiovascular health.
The arch of the foot is another crucial spot. It corresponds to digestive organs like the stomach, liver, and pancreas. By targeting this area, you can potentially improve digestion and overall gut health.
Now, let’s talk about the heel. It connects to the lower back, sciatic nerve, and pelvic area. This makes it a key target for relieving lower body tension.
Many folks focus on the upper body, but the heel is where the real magic happens for those with lower back pain.
And don’t forget the big toe, and it’s connected to the head and brain. Applying pressure here can help with mental clarity and headaches.
Some might think it’s all in the mind, but the big toe can be a game-changer for those suffering from migraines.
So, next time you’re practicing reflexology, remember these key points. They might just make a world of difference.
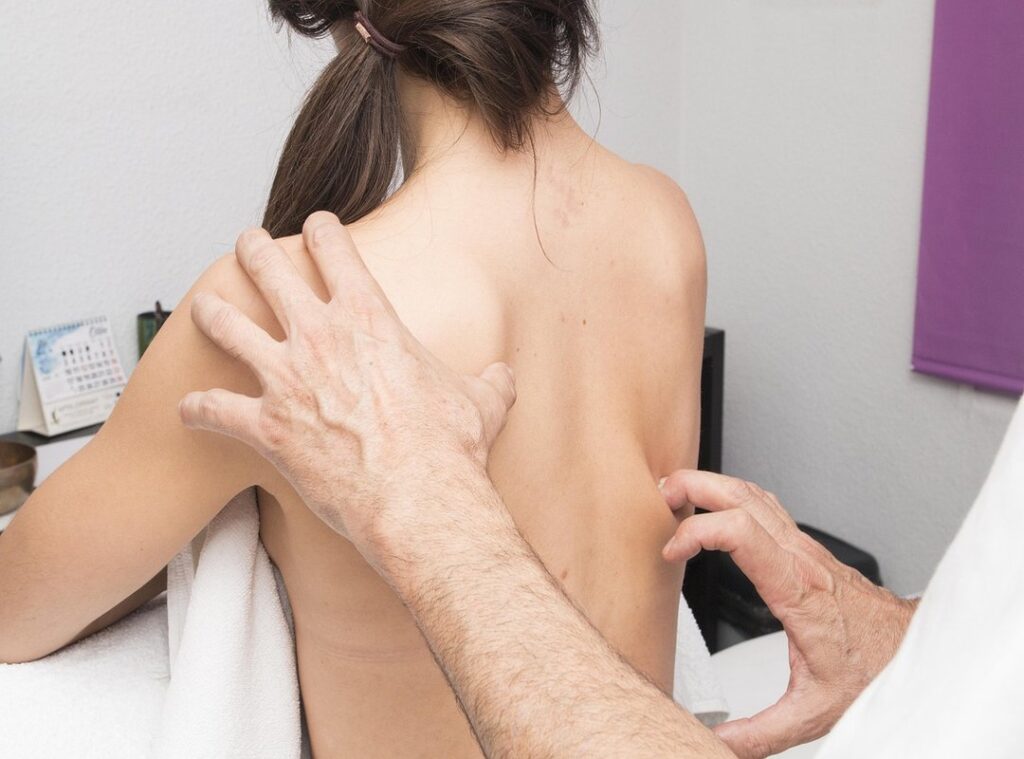
Common Mistakes to Avoid (And How to Spot Them in Photos)
Let’s dive into Photo 6: Incorrect Posture. You’ll see someone slouching or leaning too heavily on their support.
Maintaining a straight spine is crucial. It ensures your body is balanced and reduces the risk of strain.
Flamingo reflexology photos
Another no-no is placing the foot directly on the knee joint. This can cause injury. The correct placement should be above or below the knee, not right on it.
Holding your breath, and that’s a big mistake. It creates tension and instability.
Breathe deeply and evenly to stay relaxed and stable.
Applying too much pressure too soon is another common error. Start gently and listen to your body’s feedback. Trust me, your body will tell you when it’s too much.
Adding Flamingo Reflexology to Your Wellness Routine
Flamingo reflexology photos can inspire you to try this simple, no-cost method that improves balance and stimulates reflex points. Incorporate this pose while brushing your teeth, waiting for water to boil, or during a short break from work. Consistency is key; even a few minutes each day can be highly effective.
Embrace the power of taking an active role in your wellness through such simple, mindful practices.
 Irmaneliah Dunlp has opinions about trend tracker. Informed ones, backed by real experience — but opinions nonetheless, and they doesn't try to disguise them as neutral observation. They thinks a lot of what gets written about Trend Tracker, Expert Breakdowns, Skincare Routine Innovations is either too cautious to be useful or too confident to be credible, and they's work tends to sit deliberately in the space between those two failure modes.
Reading Irmaneliah's pieces, you get the sense of someone who has thought about this stuff seriously and arrived at actual conclusions — not just collected a range of perspectives and declined to pick one. That can be uncomfortable when they lands on something you disagree with. It's also why the writing is worth engaging with. Irmaneliah isn't interested in telling people what they want to hear. They is interested in telling them what they actually thinks, with enough reasoning behind it that you can push back if you want to. That kind of intellectual honesty is rarer than it should be.
What Irmaneliah is best at is the moment when a familiar topic reveals something unexpected — when the conventional wisdom turns out to be slightly off, or when a small shift in framing changes everything. They finds those moments consistently, which is why they's work tends to generate real discussion rather than just passive agreement.
Irmaneliah Dunlp has opinions about trend tracker. Informed ones, backed by real experience — but opinions nonetheless, and they doesn't try to disguise them as neutral observation. They thinks a lot of what gets written about Trend Tracker, Expert Breakdowns, Skincare Routine Innovations is either too cautious to be useful or too confident to be credible, and they's work tends to sit deliberately in the space between those two failure modes.
Reading Irmaneliah's pieces, you get the sense of someone who has thought about this stuff seriously and arrived at actual conclusions — not just collected a range of perspectives and declined to pick one. That can be uncomfortable when they lands on something you disagree with. It's also why the writing is worth engaging with. Irmaneliah isn't interested in telling people what they want to hear. They is interested in telling them what they actually thinks, with enough reasoning behind it that you can push back if you want to. That kind of intellectual honesty is rarer than it should be.
What Irmaneliah is best at is the moment when a familiar topic reveals something unexpected — when the conventional wisdom turns out to be slightly off, or when a small shift in framing changes everything. They finds those moments consistently, which is why they's work tends to generate real discussion rather than just passive agreement.